Picture this: You've just set up your Raspberry Pi, and now you're ready to take control of your smart home, media center, or automation projects from anywhere in the world. But wait—how do you even start with raspi remote? Don’t worry, buddy, because we’ve got your back. In this guide, we’ll walk you through everything you need to know about setting up and using a raspi remote like a pro. Whether you're a tech wizard or a beginner, this article will give you the confidence to unlock the full potential of your Raspberry Pi.
Now, let’s get one thing straight—raspi remote isn’t just about controlling your Pi from afar. It’s about creating a seamless experience where your projects can be managed without being physically present. From streaming movies to automating your home, the possibilities are endless. So, buckle up because we’re diving deep into the world of remote Raspberry Pi management.
Before we dive into the nitty-gritty, let me tell you something cool. This guide isn’t just another boring tech article. We’ll keep things light, conversational, and super actionable. By the time you’re done reading, you’ll have all the tools, tips, and tricks you need to dominate the raspi remote game. Let’s go!
- Gunter Digital Executive Industry Leader News Insights
- Remembering Kyle Cassel Obituary Memories Condolences
What Exactly is Raspi Remote?
Alright, first things first. If you’re new to this whole Raspberry Pi thing, let’s break it down. A raspi remote refers to the process of accessing and controlling your Raspberry Pi remotely—whether it’s from another room, across the house, or even from the other side of the planet. This setup allows you to manage files, run commands, and monitor your projects without needing to be physically connected to the device.
Think about it like this: Imagine having a tiny computer that can handle all your automation tasks, media streaming, or even act as a server. Now, what if you could control that little powerhouse from your phone, laptop, or tablet? That’s the magic of raspi remote!
Why Should You Care About Raspi Remote?
Here’s the deal—Raspberry Pi is more than just a hobbyist’s toy. It’s a powerful tool that can revolutionize the way you approach tech projects. By setting up a raspi remote, you’re giving yourself the flexibility to manage your projects on the go. Here are a few reasons why you should care:
- Unveiling Anthony Origins Meaning Popularity Name Insights
- Martin Rivers Biography Movies Music Net Worth More Discover Now
- Convenience: Who wants to sit in front of a monitor all day? With raspi remote, you can manage your Pi from the comfort of your couch.
- Flexibility: Whether you’re troubleshooting an issue or tweaking a script, remote access gives you the freedom to do it anytime, anywhere.
- Automation: Set up your smart home or IoT devices and control them effortlessly using your Pi as the central hub.
- Security: A well-configured raspi remote setup ensures that your Pi stays secure while being accessible remotely.
And let’s not forget the bragging rights. Imagine telling your friends, “Yeah, I control my home from my phone.” That’s a conversation starter right there!
Setting Up Your Raspi Remote: The Basics
Now that you know why raspi remote is awesome, let’s talk about how to set it up. The process might sound intimidating at first, but trust me, it’s easier than you think. Here’s a step-by-step guide to get you started:
Step 1: Ensure Your Pi is Ready
Before you dive into remote access, make sure your Raspberry Pi is up and running. This includes:
- Installing the latest version of Raspberry Pi OS.
- Connecting your Pi to a stable Wi-Fi or Ethernet network.
- Updating all your packages and dependencies.
Pro tip: Always keep your Pi updated to avoid security vulnerabilities and ensure smooth performance.
Step 2: Enable SSH
SSH (Secure Shell) is the backbone of remote access. It allows you to connect to your Pi securely from another device. To enable SSH:
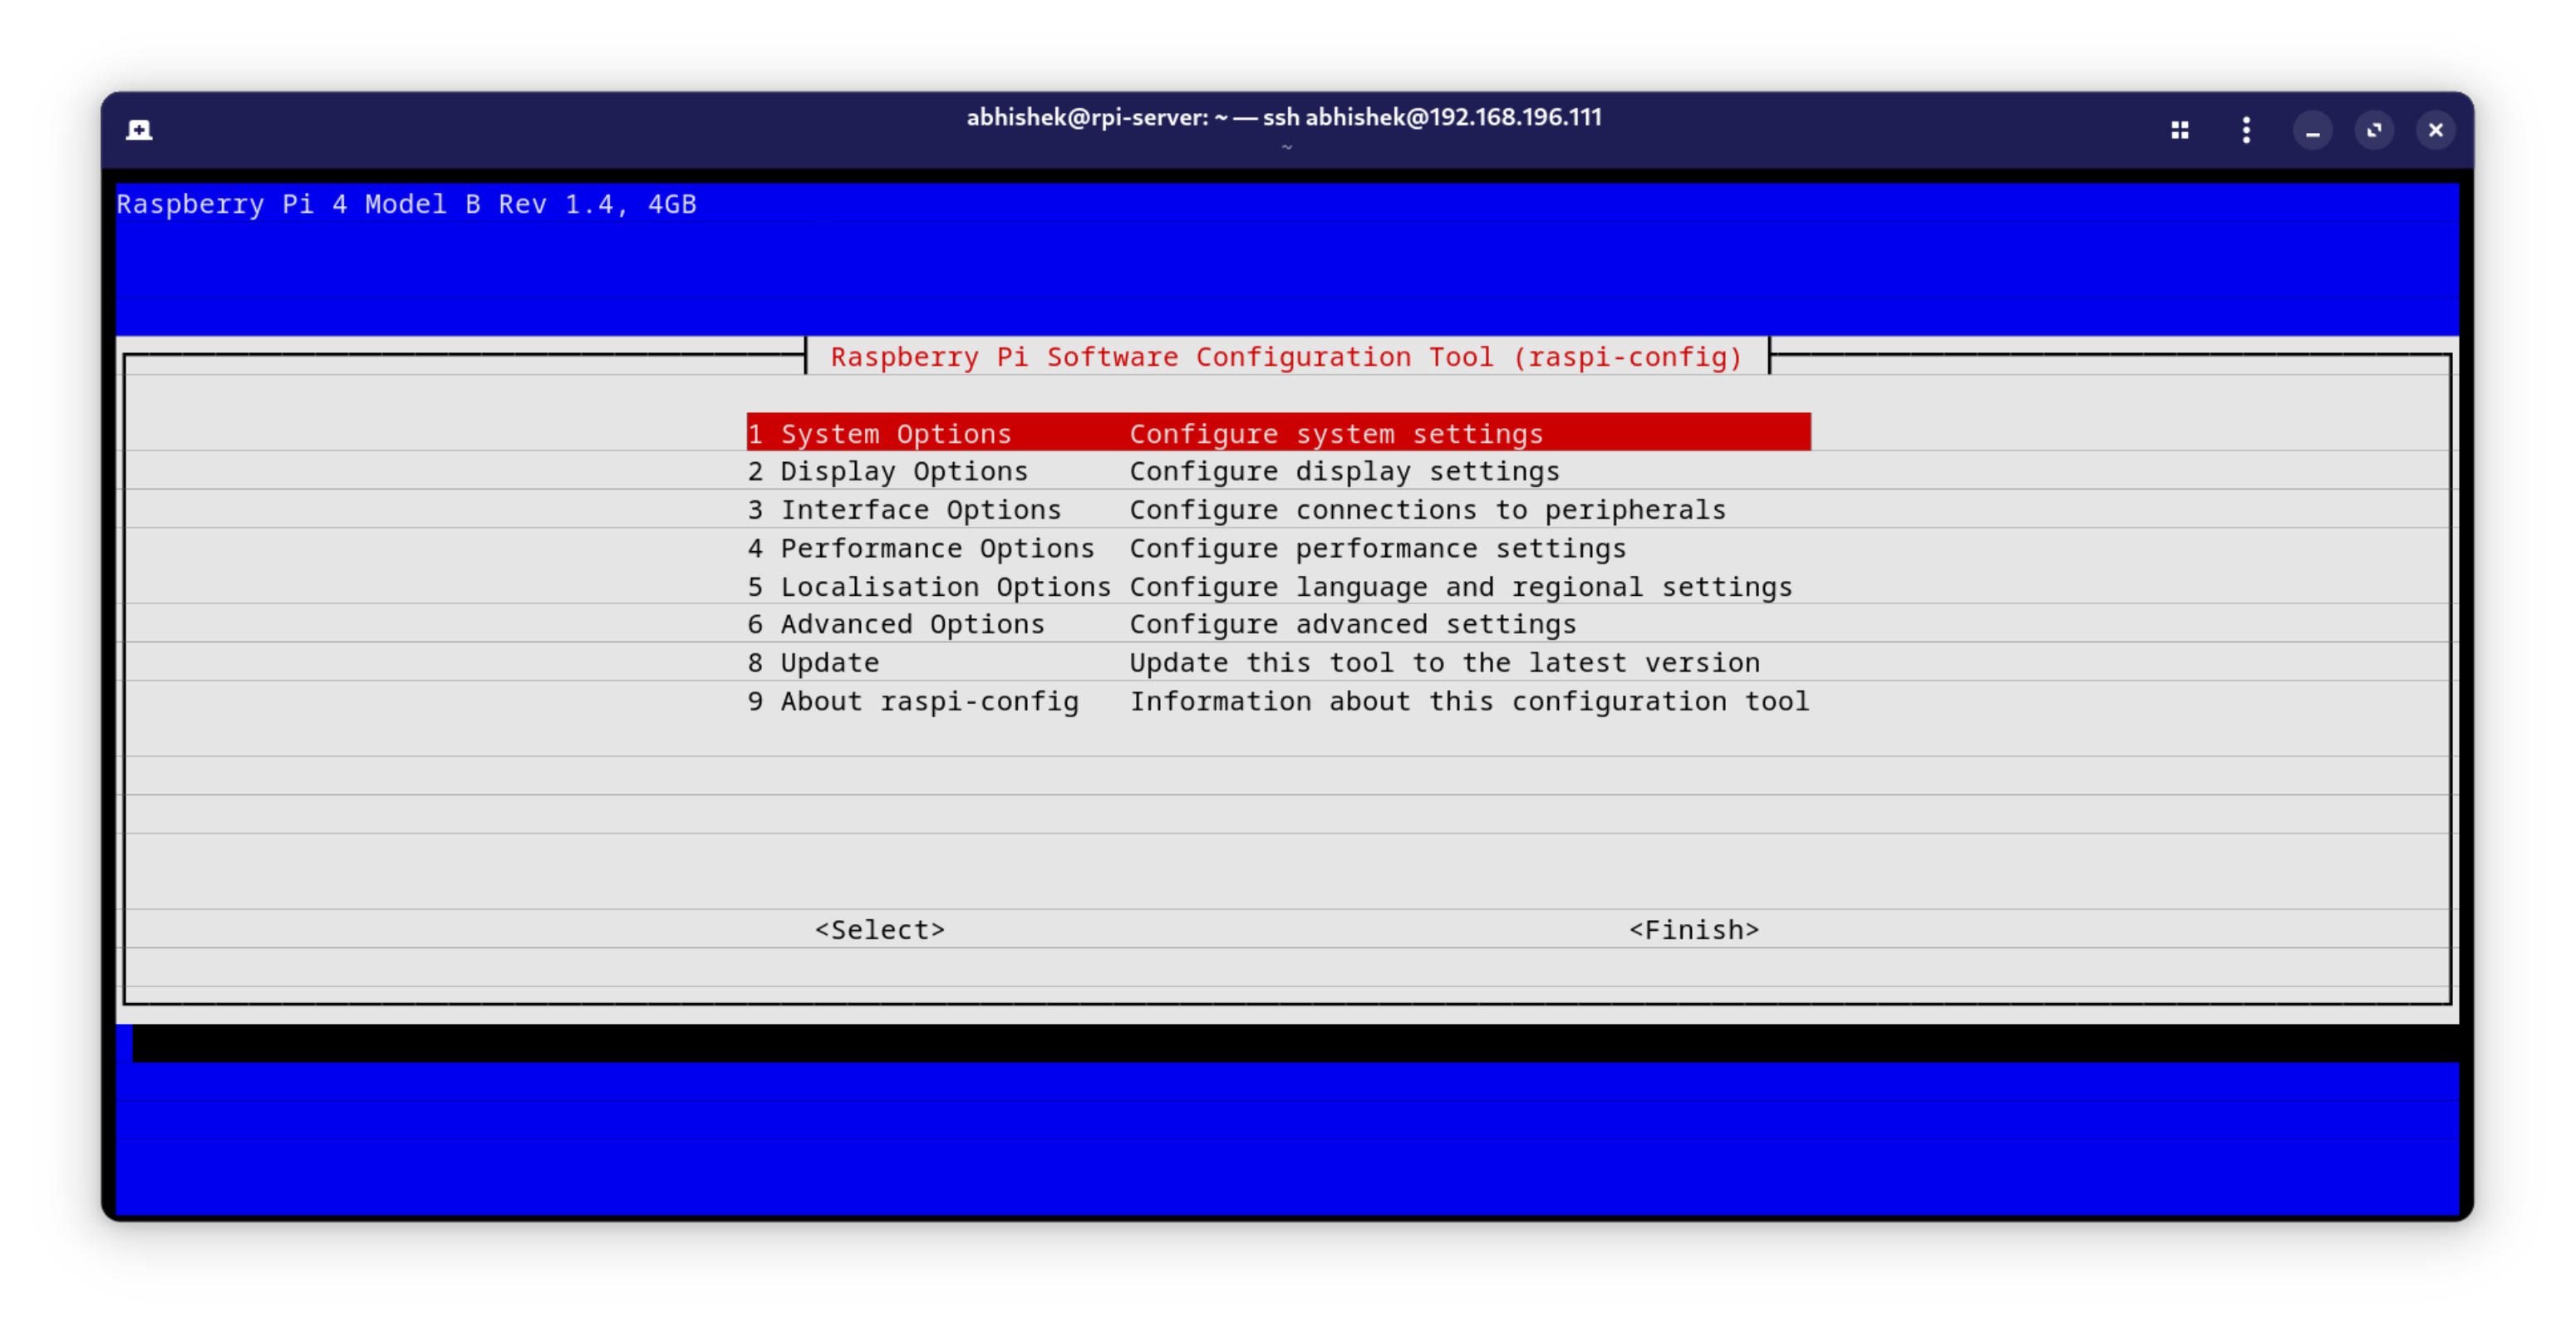
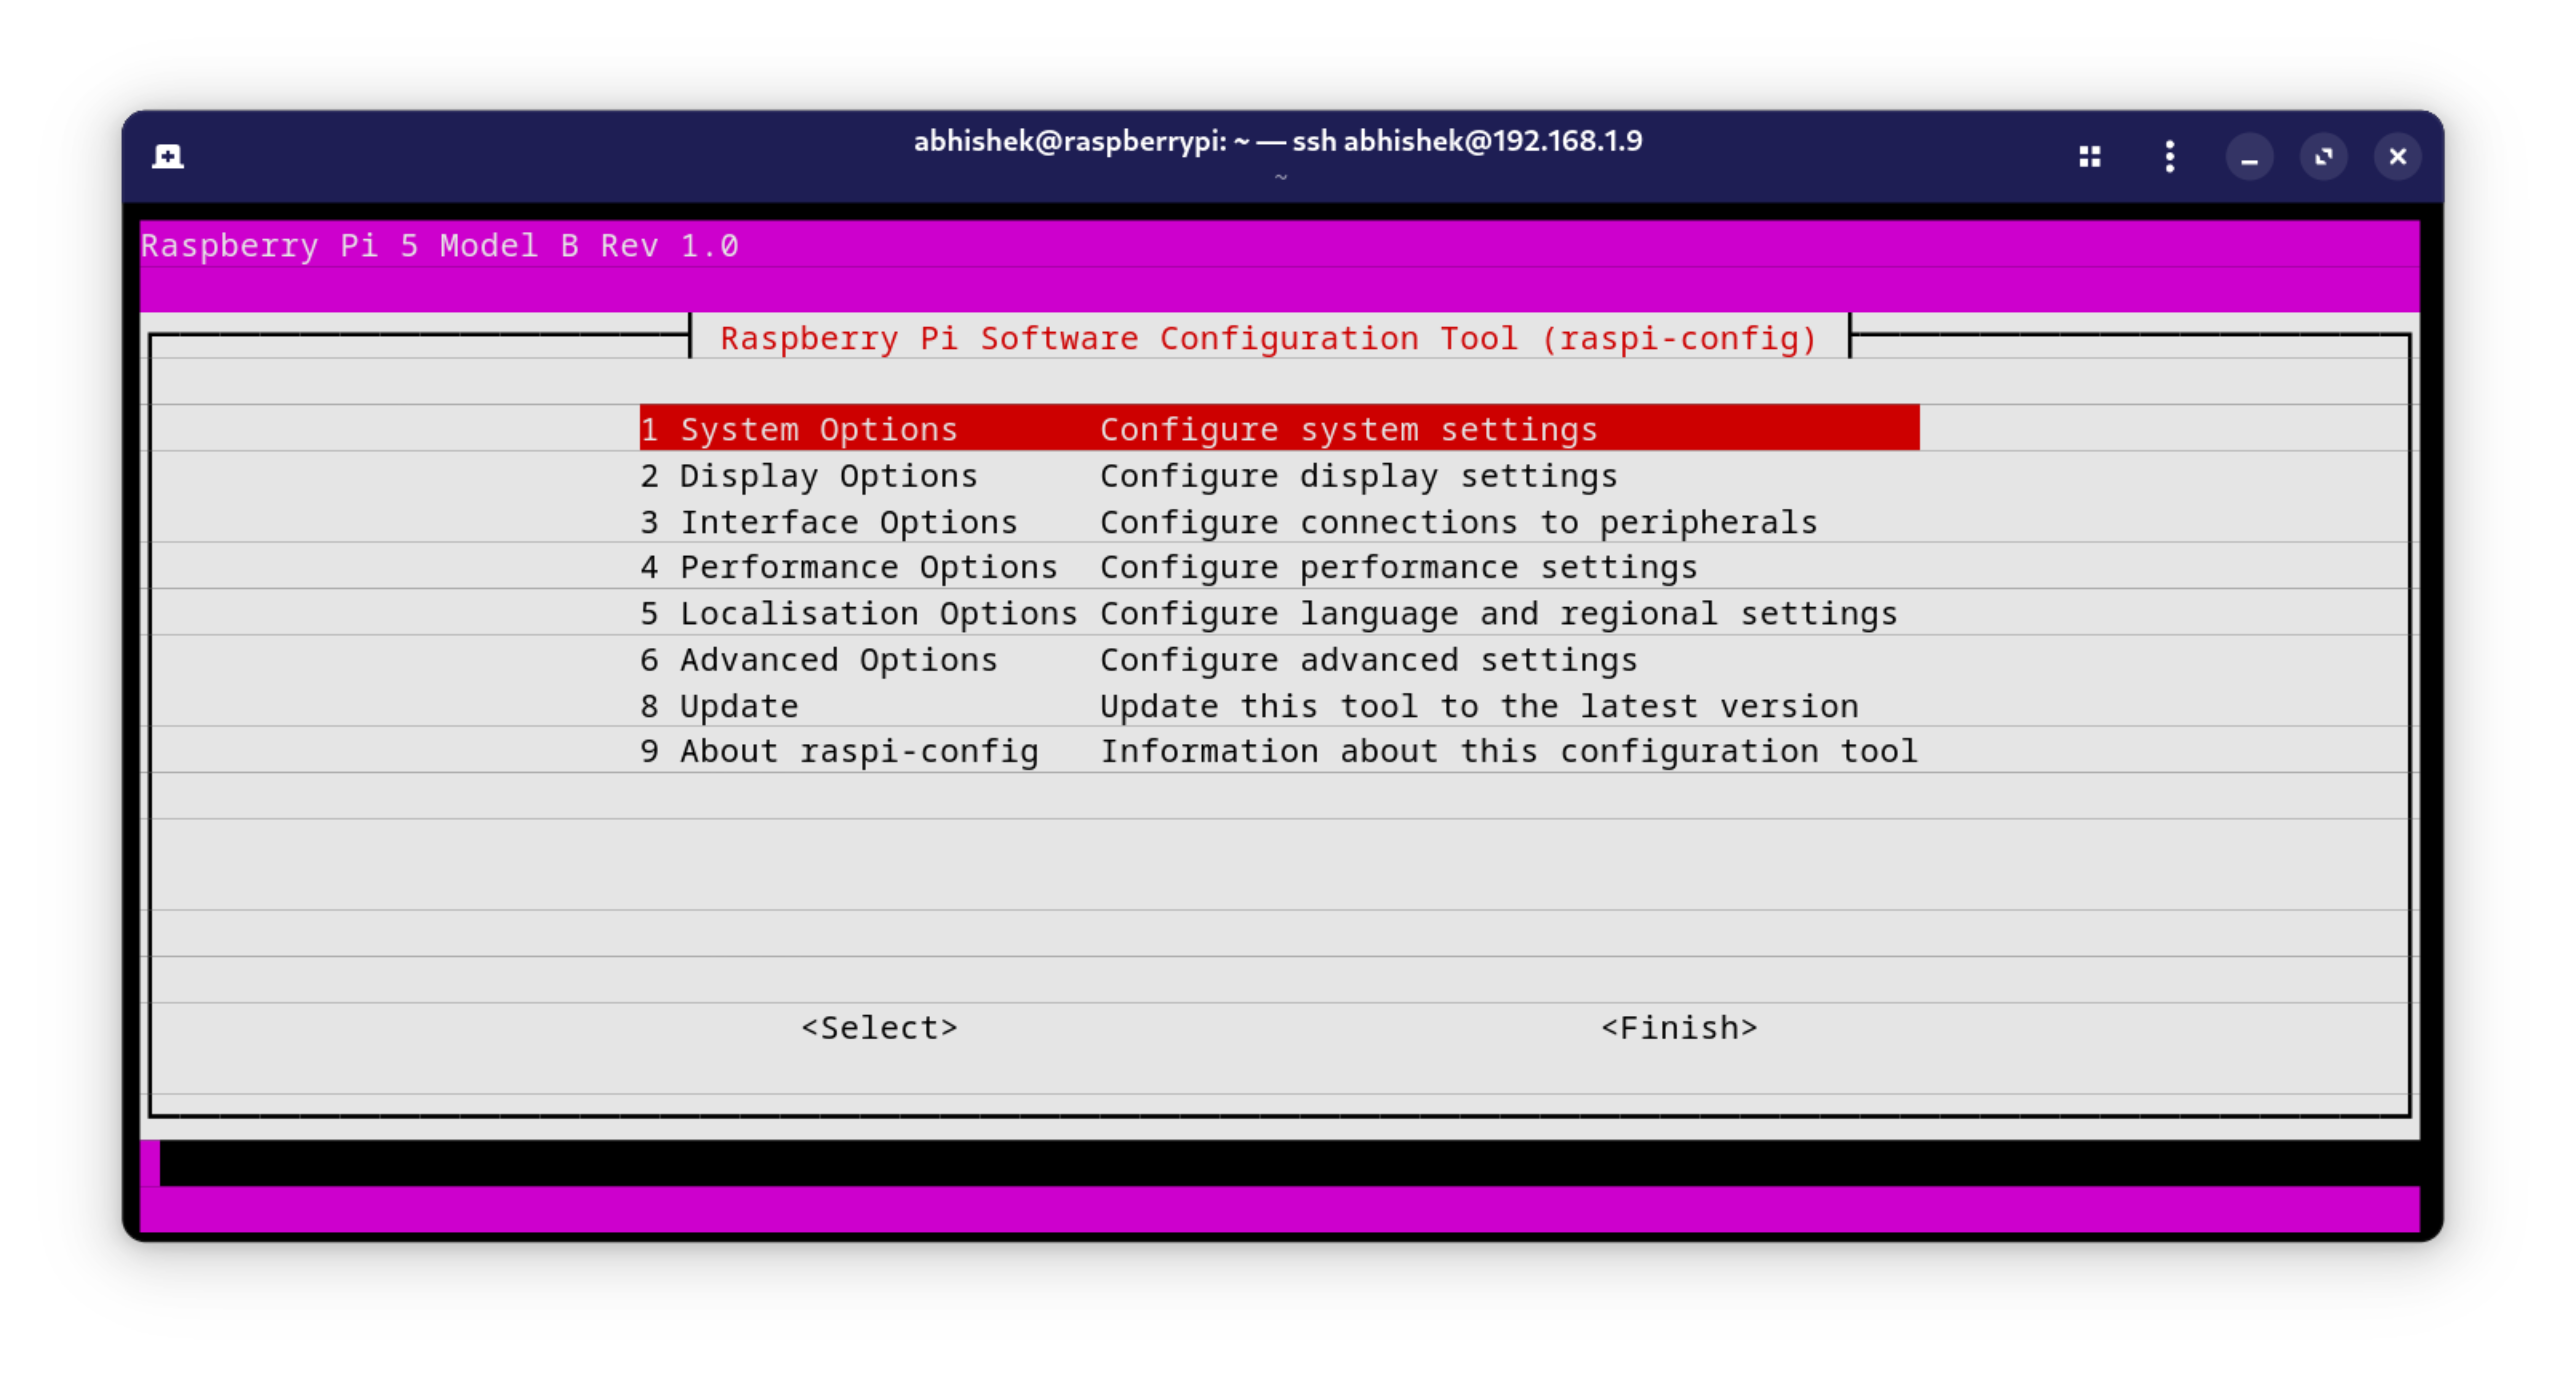
- Open the Raspberry Pi Configuration tool.
- Navigate to the "Interfaces" tab.
- Select "Enabled" for SSH.
Once SSH is enabled, you’re good to go. Just make sure you note down your Pi’s IP address—it’s your key to accessing it remotely.
Choosing the Right Tools for Raspi Remote
When it comes to raspi remote, having the right tools can make all the difference. Here are a few must-haves:
Tool #1: PuTTY
PuTTY is a popular SSH client that works like a charm for Windows users. It’s lightweight, easy to use, and totally free. Simply download PuTTY, enter your Pi’s IP address, and you’re ready to connect.
Tool #2: VNC Viewer
Sometimes, SSH isn’t enough. If you need full graphical access to your Pi, VNC Viewer is the way to go. It allows you to see your Pi’s desktop and interact with it as if you were sitting right in front of it.
Tool #3: ngrok
For those who want to expose their Pi to the internet without dealing with complicated port forwarding, ngrok is a lifesaver. It creates a secure tunnel to your Pi, allowing you to access it from anywhere.
Remember, the right tool depends on your specific needs. Don’t be afraid to experiment and find what works best for you.
Tips for Securing Your Raspi Remote
Security is key when it comes to raspi remote. The last thing you want is someone else gaining access to your Pi and messing with your projects. Here are a few tips to keep your setup secure:
- Use strong passwords: Avoid using “raspberry” as your default password. Create something unique and hard to guess.
- Enable two-factor authentication: Add an extra layer of security by requiring a second form of verification.
- Limit SSH access: Restrict SSH access to specific IP addresses or use firewalls to control who can connect.
By following these tips, you’ll significantly reduce the risk of unauthorized access and keep your Pi safe and sound.
Common Issues and How to Fix Them
Even the best-laid plans can go awry. If you encounter issues with your raspi remote setup, don’t panic. Here are some common problems and their solutions:
Issue #1: Unable to Connect via SSH
Solution: Double-check your Pi’s IP address and ensure SSH is enabled. If the problem persists, try restarting your Pi or switching to a wired connection.
Issue #2: Slow Performance
Solution: Optimize your network settings and ensure your Pi has enough resources. Closing unnecessary programs can also help improve performance.
Issue #3: VNC Connection Fails
Solution: Verify that VNC Server is installed and running on your Pi. Also, check your firewall settings to ensure they’re not blocking the connection.
Remember, troubleshooting is all about patience and persistence. Keep trying until you find the root cause of the issue.
Real-World Applications of Raspi Remote
Now that you’ve got the basics down, let’s talk about how you can use raspi remote in real-world scenarios. Here are a few ideas to get your creative juices flowing:
- Smart Home Automation: Use your Pi to control smart devices, manage lighting, and monitor your home remotely.
- Media Center Management: Stream movies, music, and other media files from your Pi to your TV or speakers.
- Web Server Hosting: Set up a personal web server and manage it from anywhere in the world.
The possibilities are endless. With a little creativity, you can turn your Raspberry Pi into the ultimate remote-controlled powerhouse.
Advanced Techniques for Raspi Remote
Ready to take your raspi remote skills to the next level? Here are a few advanced techniques to explore:
Technique #1: Port Forwarding
Port forwarding allows you to access your Pi from outside your local network. While it requires a bit of setup, it’s a powerful tool for true remote access.
Technique #2: Using Docker
Docker containers can help you run applications on your Pi without worrying about dependencies. It’s a game-changer for managing complex projects.
Technique #3: Automation Scripts
Create custom scripts to automate repetitive tasks, such as backups, updates, or system checks. This will save you time and effort in the long run.
Don’t be afraid to dive into these advanced techniques. The more you experiment, the more you’ll learn.
Conclusion: Take Control of Your Raspberry Pi
And there you have it—a comprehensive guide to mastering raspi remote. From setting up SSH to exploring advanced techniques, you now have all the knowledge you need to take control of your Raspberry Pi from anywhere. Remember, the key to success is practice and persistence. The more you experiment, the more confident you’ll become.
So, what are you waiting for? Grab your Pi, fire up your favorite tools, and start exploring the world of raspi remote. And don’t forget to share your experiences with us in the comments below. Who knows? Your story might inspire someone else to take the leap into the wonderful world of Raspberry Pi!
- Julian Centeno Profiles Social Media More Discover Now
- Las Vegas Star Silas Brooks Latest News Updates Explore Now