Hey there, tech enthusiasts! If you've ever wondered how to access your Raspberry Pi remotely with crystal-clear visuals, you're in the right place. Raspberry Pi VNC over SSH is a game-changer for hobbyists, developers, and even casual users. It’s like having a remote control for your tiny computer, but way cooler. So, let's dive in and explore how you can set this up without breaking a sweat.
Remote access to your Raspberry Pi has never been easier. With the power of VNC over SSH, you can control your Pi from anywhere in the world. Whether you're tinkering with IoT projects, running servers, or just managing your home automation setup, this method ensures you stay connected. No more fiddling with cables or carrying monitors around—just pure convenience.
Before we get into the nitty-gritty, let me tell you why this setup is worth your time. Imagine being able to troubleshoot your Pi from your cozy couch or even while traveling. That’s the kind of flexibility Raspberry Pi VNC over SSH brings to the table. So, let’s roll up our sleeves and get started on mastering this tech marvel.
- Justin Diaz Remembering A Life The Impact Of Tragic Loss
- Travis Berkley Murders Arrest More Latest Updates
What is Raspberry Pi VNC Over SSH?
Alright, so what exactly is Raspberry Pi VNC over SSH? Simply put, it’s a way to remotely access your Raspberry Pi's graphical interface securely. VNC (Virtual Network Computing) allows you to see and interact with your Pi's desktop as if you were sitting right in front of it. Meanwhile, SSH (Secure Shell) adds an extra layer of security by encrypting the connection between your device and the Pi.
This combo is perfect for those who want both ease of use and top-notch security. You can use it to manage files, run applications, or even stream data—all from the comfort of your laptop or smartphone. It’s like having a virtual window into your Raspberry Pi's world.
Why Should You Use Raspberry Pi VNC Over SSH?
Here’s the deal: traditional remote access methods can be clunky and insecure. But with VNC over SSH, you get the best of both worlds. First, it’s super secure, thanks to SSH encryption. Second, it’s incredibly easy to set up, even for beginners. And third, it gives you full control over your Pi’s graphical interface, which is a big plus if you’re working on complex projects.
Some of the key benefits include:
- Secure, encrypted connections
- Full access to the Raspberry Pi desktop
- Compatibility with multiple devices
- Minimal setup required
Setting Up VNC on Your Raspberry Pi
Setting up VNC on your Raspberry Pi is a breeze. Follow these steps to get started:
Step 1: Enable VNC
First things first, you need to enable VNC on your Raspberry Pi. Here’s how:
- Open the Raspberry Pi Configuration tool by typing
sudo raspi-configin the terminal. - Select
Interfacing Options. - Choose
VNCand enable it.
And just like that, VNC is ready to go. Easy peasy, right?
Step 2: Install VNC Viewer
Now that VNC is enabled on your Pi, you’ll need a client to connect to it. Download and install VNC Viewer on your computer or mobile device. This app acts as the bridge between your device and the Raspberry Pi.
Configuring SSH for Secure Connections
SSH is the backbone of secure remote connections. Here’s how to set it up:
Step 1: Enable SSH on Your Raspberry Pi
Just like enabling VNC, enabling SSH is straightforward:
- Open the Raspberry Pi Configuration tool.
- Go to
Interfacing Options. - Select
SSHand enable it.
With SSH enabled, your Pi is ready to accept secure connections.
Step 2: Set Up SSH Tunneling
SSH tunneling ensures that your VNC connection remains secure. Here’s how to do it:
- Open a terminal on your local machine.
- Type
ssh -L 5901:localhost:5901 pi@your-pi-ip-address. - Enter your Raspberry Pi’s password when prompted.
Boom! You’ve created an SSH tunnel that funnels VNC traffic securely.
Connecting to Your Raspberry Pi via VNC
Now comes the fun part: connecting to your Raspberry Pi. Follow these steps:
Step 1: Launch VNC Viewer
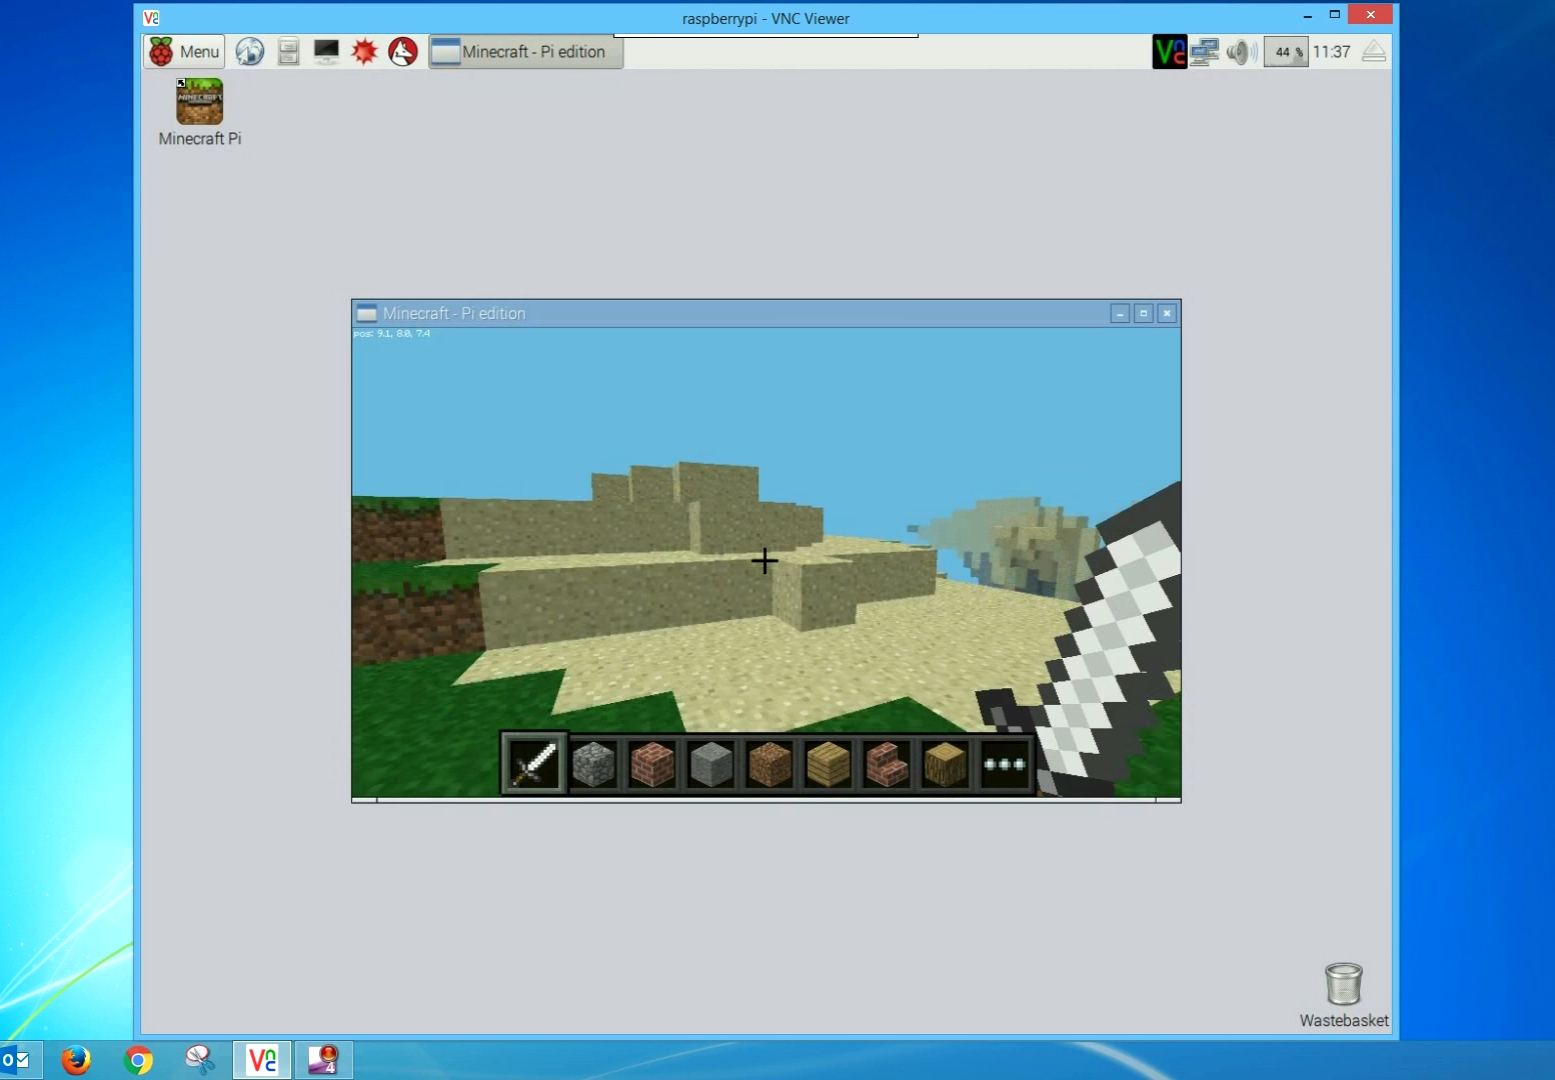
Open the VNC Viewer app on your device. It’s time to see your Pi’s desktop in all its glory.
Step 2: Enter the Connection Details
Type localhost:5901 into the VNC Viewer and hit connect. You’ll be prompted for your Pi’s password, and voila—you’re in!
At this point, you should see your Raspberry Pi’s desktop right in front of you. Pretty cool, huh?
Tips for Optimizing Raspberry Pi VNC Over SSH
Want to make the most out of your VNC experience? Here are a few tips:
- Use a strong, unique password for SSH to enhance security.
- Consider setting up a static IP address for your Pi to avoid connection issues.
- Disable unnecessary services on your Pi to free up resources.
- Regularly update your Pi’s software to ensure compatibility and security.
These small tweaks can make a big difference in performance and reliability.
Troubleshooting Common Issues
Even the best setups can run into problems. Here are some common issues and how to fix them:
Issue 1: Can’t Connect to Raspberry Pi
Make sure your Pi is connected to the same network as your device. Also, double-check the IP address and port number you’re using.
Issue 2: Slow Connection
Try reducing the resolution or color depth in the VNC settings. This can significantly improve performance over slower connections.
Security Best Practices for Raspberry Pi VNC Over SSH
Security should always be a top priority. Here’s how to keep your setup safe:
- Use SSH keys instead of passwords for authentication.
- Regularly update your Pi’s firmware and software.
- Limit access to trusted devices and networks.
By following these practices, you can enjoy the benefits of remote access without compromising security.
Real-World Applications of Raspberry Pi VNC Over SSH
So, what can you do with this setup? The possibilities are endless:
- Manage IoT devices and sensors remotely.
- Run servers and web applications from anywhere.
- Streamline home automation systems.
- Collaborate on projects with team members.
Whether you’re a tech enthusiast or a professional developer, Raspberry Pi VNC over SSH has something to offer everyone.
Conclusion: Take Control of Your Raspberry Pi
There you have it—everything you need to know about Raspberry Pi VNC over SSH. This powerful combination gives you the freedom to access and manage your Pi from anywhere, all while keeping your data secure. So, what are you waiting for? Give it a try and see how it transforms your workflow.
Don’t forget to share your thoughts in the comments below. And if you found this guide helpful, consider sharing it with your friends and fellow Pi enthusiasts. Until next time, happy tinkering!
Table of Contents
- What is Raspberry Pi VNC Over SSH?
- Why Should You Use Raspberry Pi VNC Over SSH?
- Setting Up VNC on Your Raspberry Pi
- Configuring SSH for Secure Connections
- Connecting to Your Raspberry Pi via VNC
- Tips for Optimizing Raspberry Pi VNC Over SSH
- Troubleshooting Common Issues
- Security Best Practices for Raspberry Pi VNC Over SSH
- Real-World Applications of Raspberry Pi VNC Over SSH
- Conclusion: Take Control of Your Raspberry Pi
- Casey Tanner Lgbtq Sex Therapy More News Insights
- Discovering Payton James From Hair Styling To Handbags More